When I first started playing pickleball, I didn’t have much money to spend on equipment. Buying a ready-made paddle was out of my budget, so I decided to DIY a pickleball paddle.
With some basic woodworking skills and a few tools, I managed to create my own paddle, which turned out to be quite effective and durable.
As time went on, many of my friends began to ask if they could make their own paddles as well. They were interested in the process and wanted to try it themselves. Based on my experience and the feedback I received from friends who tried my DIY paddle, I decided to create this guide. I’ve also incorporated tips and improvements I’ve learned from various online forums and communities to make the process easier and more effective.
Using a wooden paddle in pickleball offers better ball control compared to conventional carbon paddles. Although wooden paddles are heavier, they help produce more accurate and effective shots.
This guide is a result of my journey, from the initial attempt to craft a paddle out of necessity to refining the process with collective wisdom and feedback. I hope it helps others enjoy the game of pickleball without breaking the bank.
How To Make a Pickleball Paddle by Yourself
Preparation:
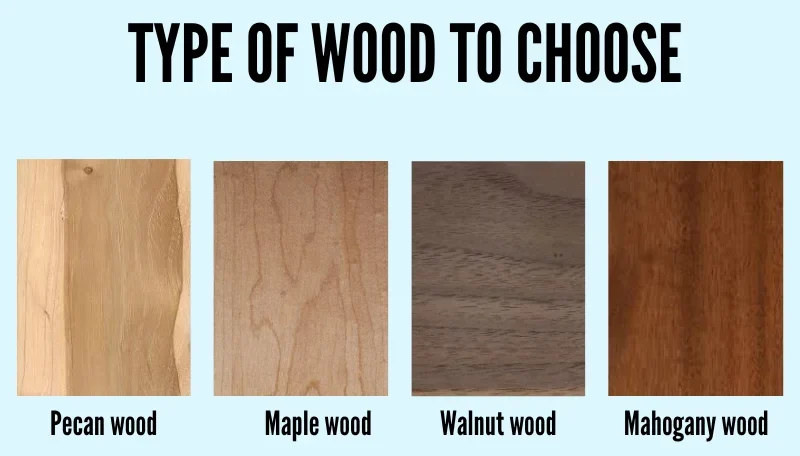
- Wood panels: You can use wood like pecans, maple, walnut, or mahogany.
- Plywood sheet: Choose a sheet large enough to cut into two parts and create two pickleball paddles.
- Wood glue: Specialized glue for gluing pieces of wood together.
- Wood cutting tools: Saw, wood cutter, or specialized cutting knife.
- Wood clamp: To fix wood pieces during the gluing process.
- Curling tools: Curling tools or heat forming tools can be used if necessary.
Most of the items I buy are from suppliers such as Home Depot, Lowe’s, Harbor Freight or the e-commerce site Amazon with many different options.
Step 1: Prepare wood
In my experience, choosing the right wood is important to ensure durability and long-term use. I recommend woods like pecans, maple, walnut, or mahogany.
Currently, I use maple wood because of its hardness and durability, and it is also easy to find and not too expensive compared to other types of wood. Once you have chosen the type of wood, select a piece large enough to cut into the paddle face and handle (20×10 inches, about 50.8×25.4 cm), with a thickness of 1/2 – 3/4 inches, about 1.27 – 1.905 cm)
Step 2: Cut Wood
To DIY a pickleball paddle at home, first, use a tape measure or ruler to mark the parts that need to be cut according to the shape of the paddle. The standard size of a paddle does not exceed 24 inches (length + width). It means the length is about 16 inches and the width is about 8 inches. Next, you also cut a small hole at the top to place the racket string.
Some notes when cutting:
- If cutting with a chainsaw, be sure to wear safety glasses and follow safety measures.
- If using a handsaw, cut slowly to ensure straight and precise cuts.
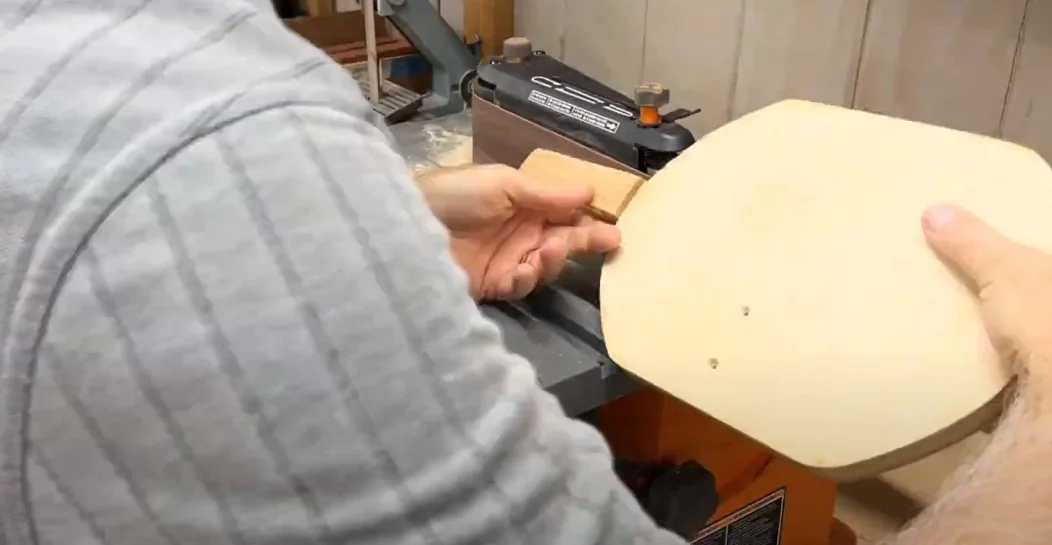
- After cutting, use a grinder or sandpaper to smooth the sharp corners, making the paddle flat and smooth.
Caution: Ensure you are of legal age to operate these tools, or if not, make sure to have adult supervision and follow all safety precautions.
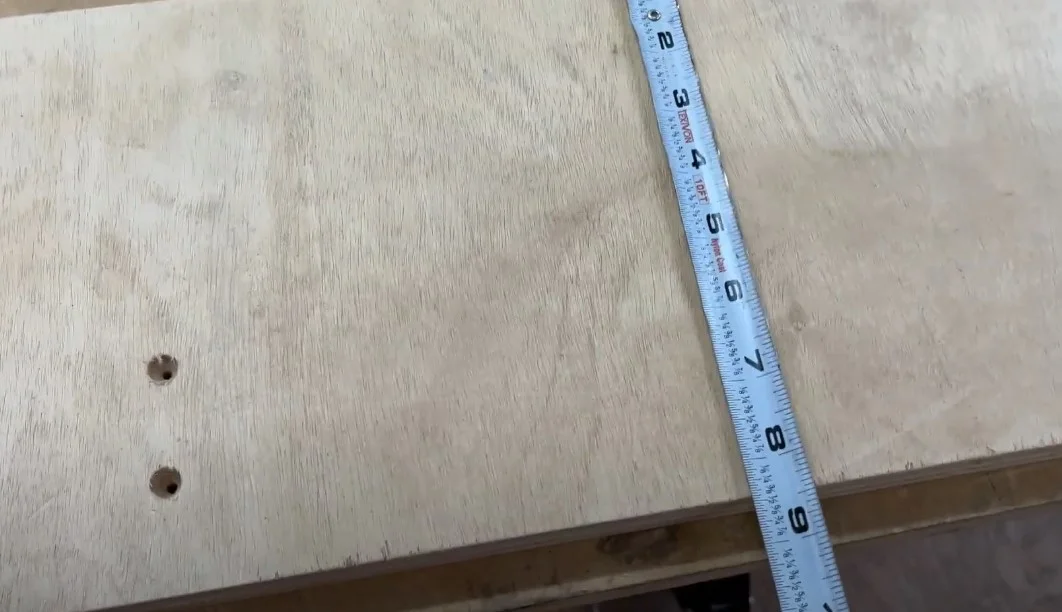
Step 3: Machining the Paddle Handle
Next, cut 2 small rectangular pieces of wood to create a handle about 5-6 inches (12.7-15.24) cm long. Then, glue these pieces together with wood glue and use clamps to secure them, waiting for the glue to dry completely (usually takes 24-48 hours).
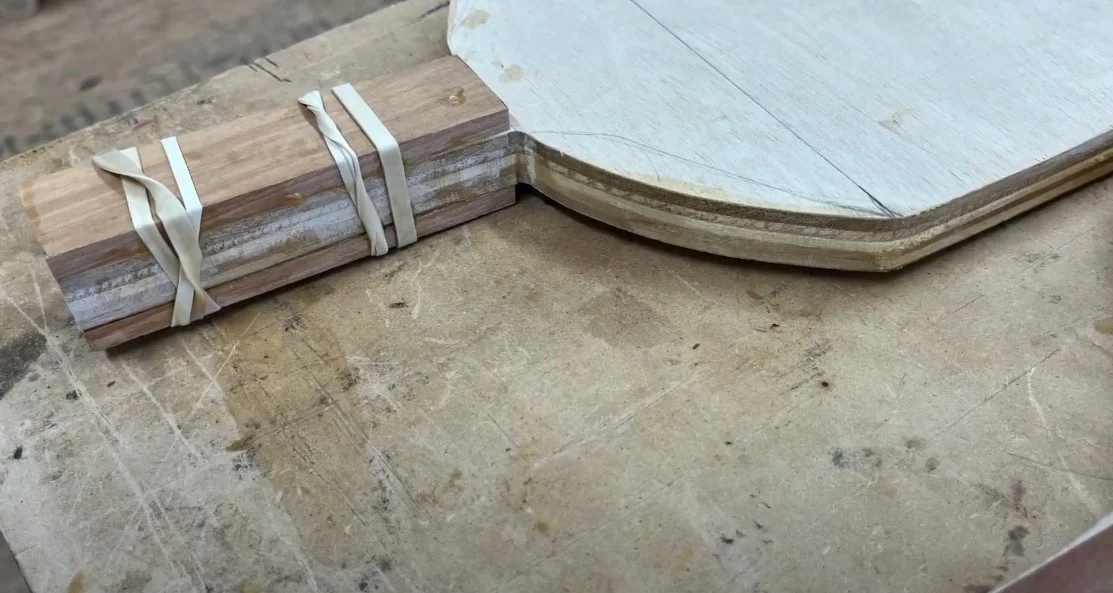
If you have a tool to bend wooden handles, use it to create a curve that is easy to hold and does not hurt your hands when playing. Once completed, use a grinder or sandpaper to smooth and round the 4 corners of the handle, ensuring the surface is smooth and has no sharp edges.
Step 4: Perfection – Customize your unique
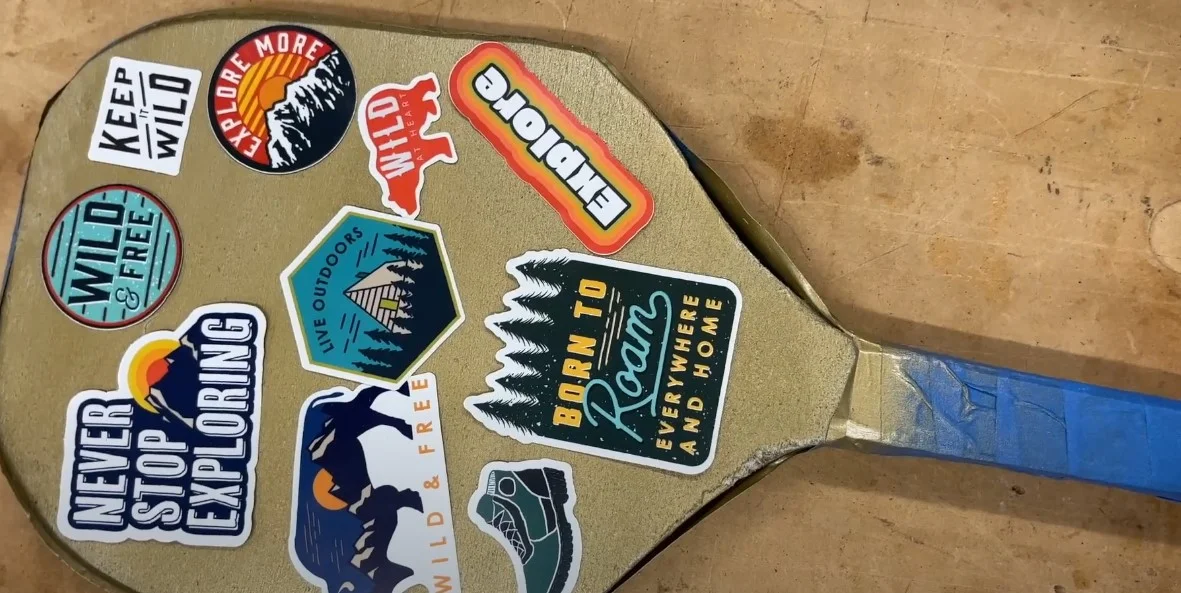
To create a unique and personal touch, you can add decorative stickers to the paddle surface. I often draw and sign my paddles to make them unique. With the detailed steps above, you will be able to create a quality pickleball paddle with your own personal touch. Moreover, if you want, you can paint it or glue it to create a highlight for the racket.
Tutorial Video
Remember: Choose High Quality on Setting to get better experiences.
Pro Tip For Success
- Choose hard and durable woods like maple.
- Use accurate measuring tools and ensure dimensions do not exceed 24 inches.
- When cutting wood, make sure to cut straight and precise strokes, which will help you create a well-functioning paddle.
- Pay attention to safety. So wear protective glasses when cutting wood, especially with power tools such as chainsaws.
- Use wood glue designed to bond wood surfaces. Be sure to apply it evenly and use clamps to fix the pieces together securely. Allow adequate drying time according to the glue manufacturer’s instructions.
- Make sure the paddle surface is smooth. So, you should sand the paddle and handle surfaces.
- You can add your own personal touch with a decorative sticker or signature. This not only customizes the paddle but also adds a sense of pride in your workmanship.
- Once completed, test the paddle to ensure it meets your performance expectations. Make any necessary adjustments to the handle or surface to optimize your gaming experience.
Final Though
DIY a pickleball paddle starts by choosing durable wood like maple. You’ll cut and shape the wood, create a comfortable handle, and assemble everything with wood glue. Adding personal touches with decorations not only boosts how it looks but also how well it works.
Beyond saving money, there’s real joy in crafting something that fits exactly what you want. I hope this guide encourages others to try making their own paddle, adding creativity and satisfaction to their pickleball game. For more guides on your pickleball paddle, you can explore our Pickleball Paddle 101 section and find the most suitable.


